Hey there! As a C purlin supplier, I've seen firsthand how important it is to know the ins and outs of installing C purlins on a concrete structure. Whether you're a DIY enthusiast or a professional contractor, this guide will walk you through the process step by step.
Why C Purlins on Concrete?
First off, let's talk about why you'd want to use C purlins on a concrete structure. C purlins are super versatile and offer a cost - effective solution for adding structural support. They're lightweight yet strong, which makes them easy to handle during installation. Plus, they can be used in a variety of applications, from roofing to wall framing.
What You'll Need
Before you start the installation, gather the following tools and materials:
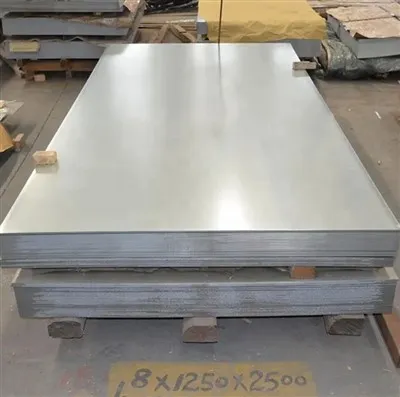
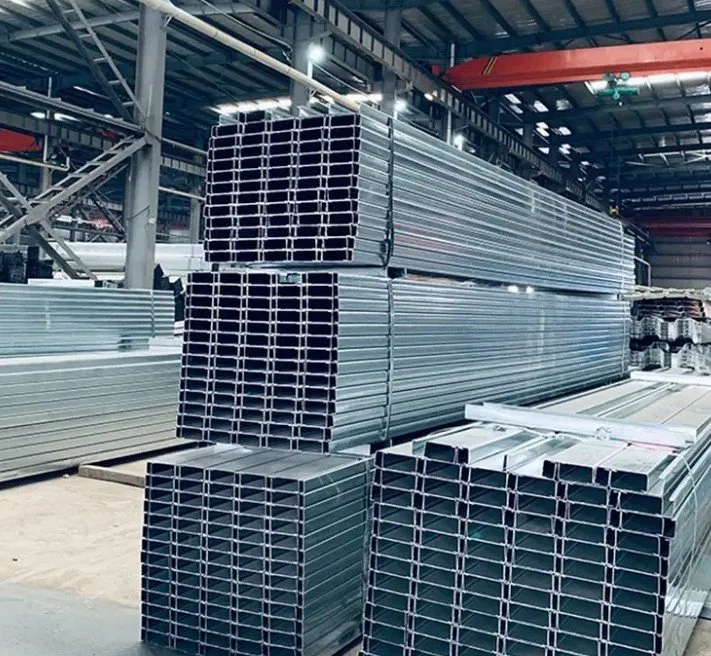
- C purlins (obviously! You can check out our C Section Steel Channel for high - quality options)
- Concrete anchors
- Drill with appropriate bits
- Measuring tape
- Level
- Wrench or socket set
- Safety gear (gloves, safety glasses, hard hat)
Step 1: Planning and Measurement
The first step in any installation project is planning. Measure the area where you'll be installing the C purlins. Make sure you know the exact dimensions of the concrete surface and how many purlins you'll need. It's a good idea to mark the locations where the purlins will be placed on the concrete. This will help you ensure that they're evenly spaced and properly aligned.
Step 2: Preparing the Concrete
Once you've marked the locations, it's time to prepare the concrete. Use a drill to create holes for the concrete anchors. The size of the holes will depend on the type of anchors you're using, so make sure to follow the manufacturer's instructions. After drilling the holes, clean them out to remove any dust or debris. This will ensure a good connection between the anchor and the concrete.
Step 3: Installing the Concrete Anchors
Now, insert the concrete anchors into the holes you just drilled. Use a hammer or a wrench to secure them in place. Make sure they're firmly seated in the concrete. You can test the anchors by giving them a gentle tug to ensure they're holding up.
Step 4: Positioning the C Purlins
With the anchors in place, it's time to position the C purlins. Lift the purlins into place and align them with the marked locations on the concrete. Use a level to make sure they're perfectly horizontal. If they're not level, adjust them accordingly. Once they're in the right position, place the purlins over the anchors.
Step 5: Securing the C Purlins
After positioning the purlins, it's time to secure them to the concrete. Use nuts and washers to fasten the purlins to the anchors. Tighten the nuts using a wrench or socket set. Make sure they're tightened enough to hold the purlins firmly in place, but don't over - tighten them as this could damage the purlins or the anchors.
Step 6: Checking for Alignment and Stability
Once all the purlins are secured, double - check their alignment and stability. Use a level again to make sure they're still horizontal. Walk along the purlins and give them a gentle shake to see if they're wobbly. If you notice any issues, make the necessary adjustments.
Step 7: Finishing Touches
After ensuring everything is in place and stable, you can add any finishing touches. This could include painting the purlins to protect them from rust or adding additional bracing for extra support. If you're using Galvanised C Section Channel, you won't have to worry as much about rust, but a coat of paint can still add an extra layer of protection.
Tips and Tricks
- Work in Pairs: Installing C purlins can be a two - person job, especially if they're long or heavy. Having an extra set of hands can make the process much easier and safer.
- Take Breaks: Installation work can be tiring. Make sure to take regular breaks to avoid fatigue, which can lead to mistakes or accidents.
- Follow Safety Procedures: Always wear your safety gear. Drilling into concrete can create a lot of dust and debris, so safety glasses are a must. Gloves will protect your hands from sharp edges, and a hard hat will protect your head from any falling objects.
Alternative Options
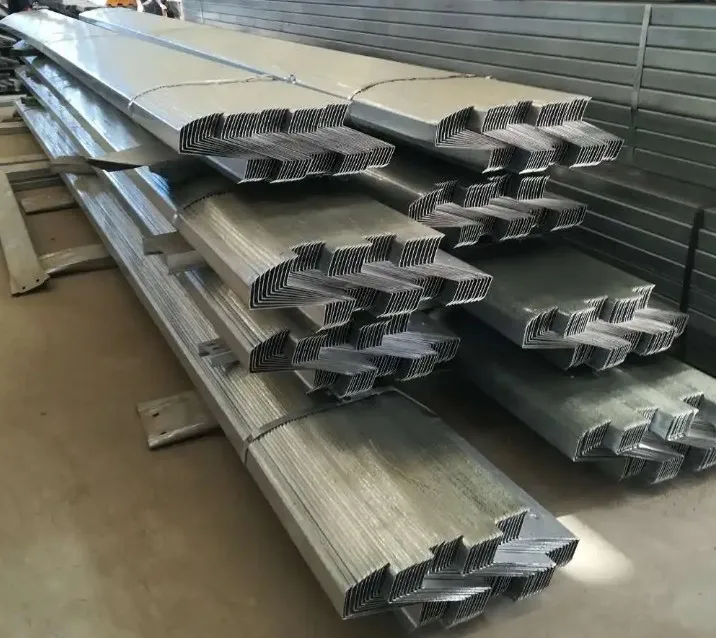
If C purlins aren't the right fit for your project, you might want to consider Steel Z Purlins. They offer a different shape and can be used in some applications where C purlins might not work as well. Z purlins are often used in roofing systems where overlapping is required.
Conclusion
Installing C purlins on a concrete structure isn't as difficult as it might seem. With the right tools, materials, and a bit of know - how, you can get the job done quickly and efficiently. Whether you're building a small shed or a large commercial building, C purlins can provide the support you need.
If you're interested in purchasing high - quality C purlins for your next project, don't hesitate to reach out. We're here to help you find the right products and answer any questions you might have. Contact us to start your procurement discussion and let's build something great together!
References
- Building Construction Handbook, various editions
- Manufacturer's instructions for C purlins and concrete anchors